Class Libraries
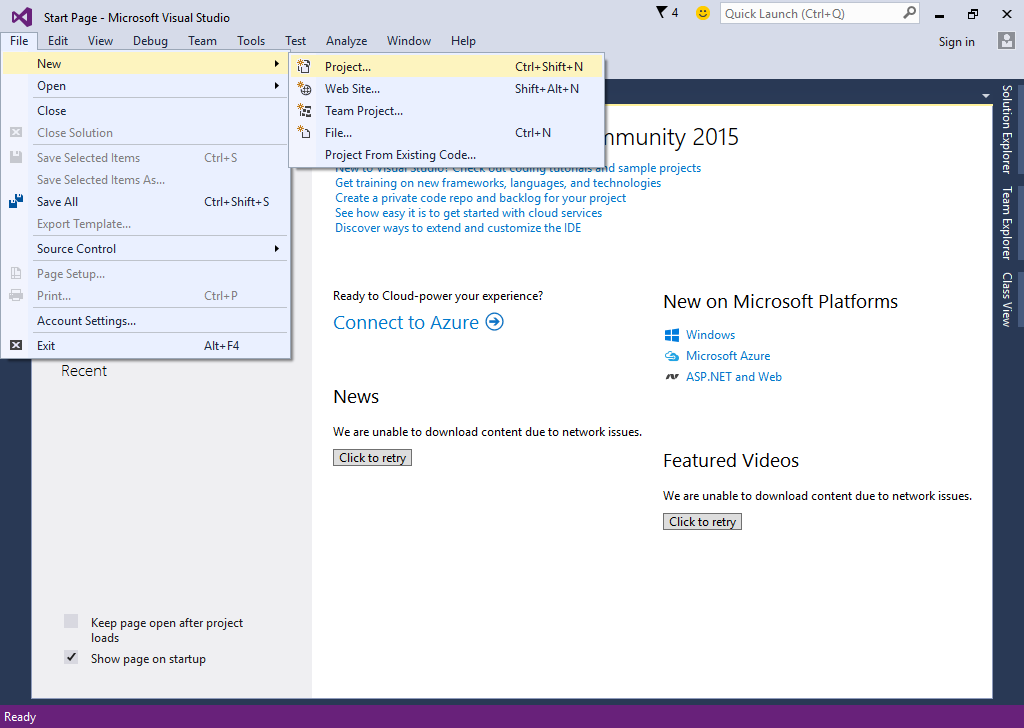
You can create a Class Libraries which is a collection of classes and other codes that can be compiled and redistributed for software reusability. Class libraries are compiled into dynamic link libraries (DLL). DLLs cannot be read when you open it inside any text editor programs. Only computers and the .NET runtime can understand them. Class libraries is a project that you can create in individual solutions or along with other solutions. Let’s create a new class library for a class named sample. Go to File > New > Project.
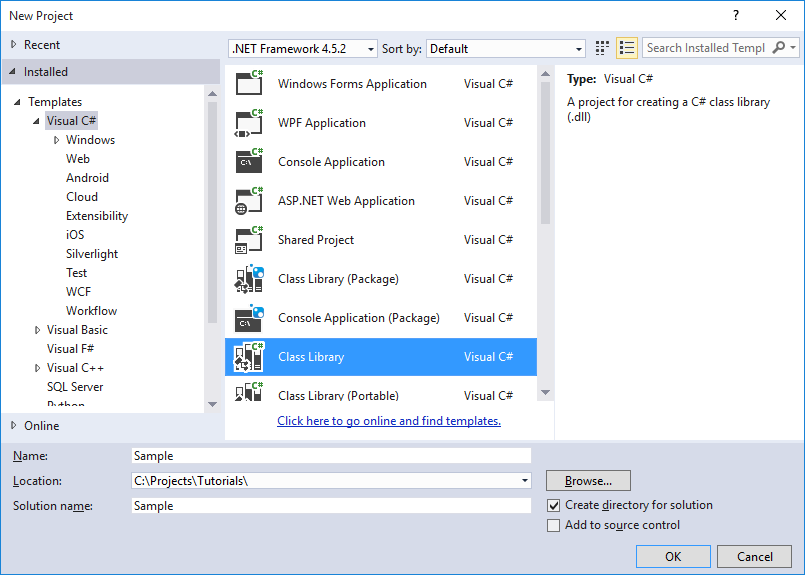
You should then choose Class Library from the list of templates and name it Sample for this demonstration.
After creating the class library, you will be provided a new class file automatically named Class1. For demonstration purposes, add the following code:
public class Class1
{
    public void ShowMessage()
    {
        Console.WriteLine("Hello World!");
    }
}
After writing your code for the class inside the class library, you can build it by going to the Menu and choosing Build > Build Solution. It will compile into a .DLL file. This file contains all your code. Now, other programs can use this .dll file.
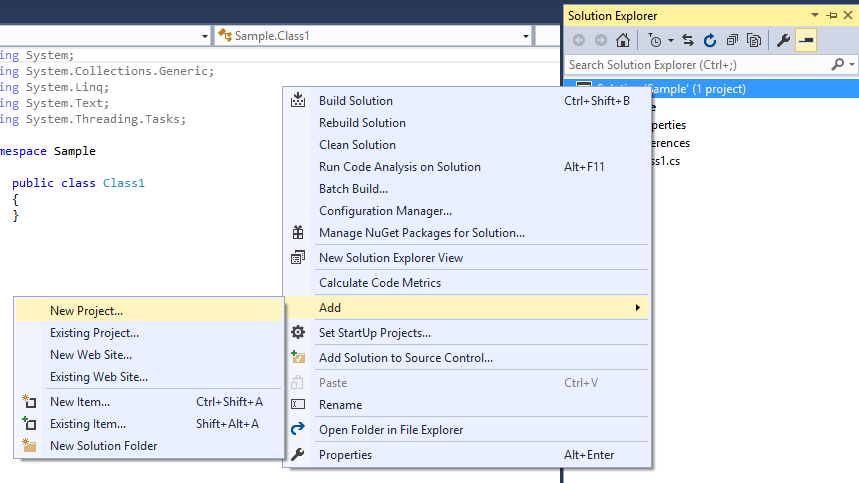
Create another Console Application Project. Right-click the solution in the Solution Explorer and choose Add > New Project.
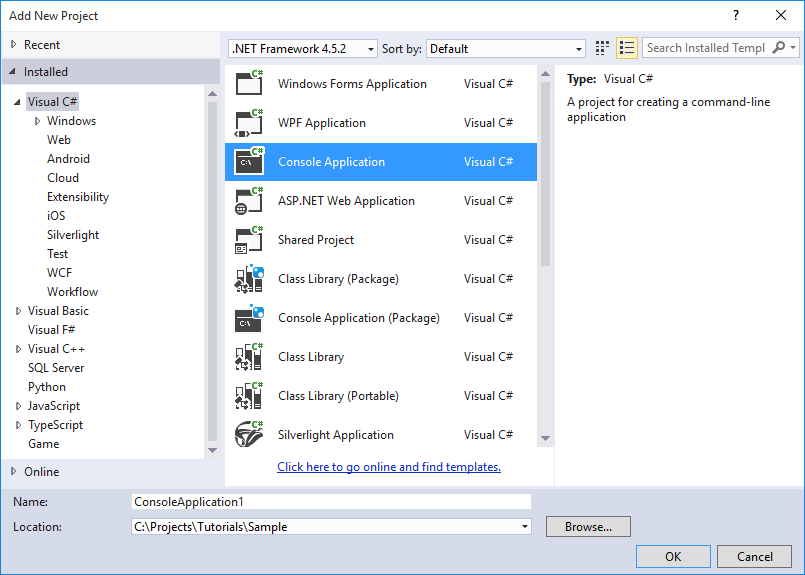
Select the Console Application template.
It should create another project visible in your Solution Explorer. After creating it, you must add a reference to the .dll we have created. Go to the Solution Explorer and right-click the project and choose Add > Reference…

An alternate way to do this is by right-clicking the Reference node of your project and clicking Add Reference…
This will open the Reference Manager as seen below.
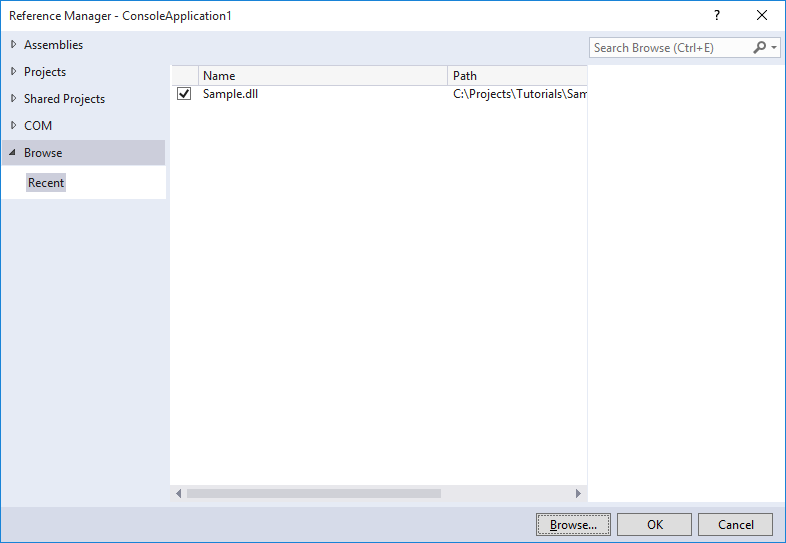
Now, you need to browse for the .dll file. The Assemblies tab allows you to add the reference for all the available .NET assemblies. Note that not all assemblies are imported to your project by default. If you open the References folder inside the solution explorer, you will find all the assemblies that are available for you. If you want to use more assemblies from the .NET framework, then you have to add a reference to it using this tab. The Projects section scans your current solution for class library projects and automatically list them here. Since our class library is in the same project as the console application project, we can also use this to add reference to our class library.
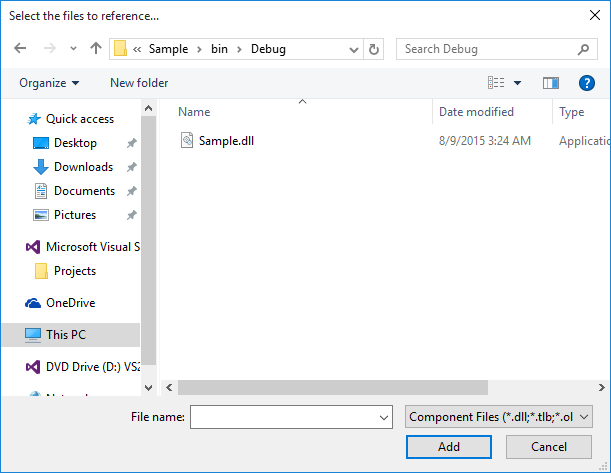
The Shared Projects tab is related to Universal Apps which is not in the scope of our tutorials. The COM tab is for referencing COM assemblies which are also not in the scope of our tutorials. The Browse tab allows you to browse for an assembly or a file with .DLL extension. Let’s try browsing the .DLL file created by our class library when we build it. The location of the .DLL file is inside the Debug or Release folder of the class library project. These two folders can be found inside the bin folder inside the Solution Folder of the Class Library.
You can confirm that the class library is now being referenced by your Console Application project by going to the Solution Explorer.

Now that we have a reference to our class library, we can now use the all of the code contained in that class library. To try it out, enter the following code in the ConsoleApplication1‘s Program.cs file.
using Sample;

namespace ConsoleApplication1
{
    class Program
    {
        static void Main(string[] args)
        {
            Class1 sampleClass = new Class1();
            sampleClass.ShowMessage();
        }
    }
}
Set the ConsoleApplication1 project as the startup project by right-clicking it in the solution explorer and choosing Set as Startup Project. We can now run the project and see the output in a console.
Hello World!