Namespaces
Using a namespace is a way of packaging your application codes such as classes into a uniquely named structure. Everything in .NET Framework is wrap inside at least one namespace. When naming your class, there is a big chance that other programmers might have named their classes the same as yours. When you use their class into your program that also uses the class with the same name, there will be a conflict. Namespaces prevent, or at least decrease the likelihood of this event.
As of now, we have encountered only one namespace and that is the System namespace which contains the most common methods and classes such as the Console class and the WriteLine() method. We haven’t used any namespace on our previous lessons, but if you will create a new project, the default code it will provide you will have a namespace that has a name similar to your project’s name.
In this lesson, I will show you how you can write your classes inside a separate file and then use it on another file. Fire up Visual Studio and create a new project. After your project has been created, let’s create a new code file. There are multiple ways to create a new file. One way is by right-clicking your project inside Solution Explorer, select Add and then New Item…
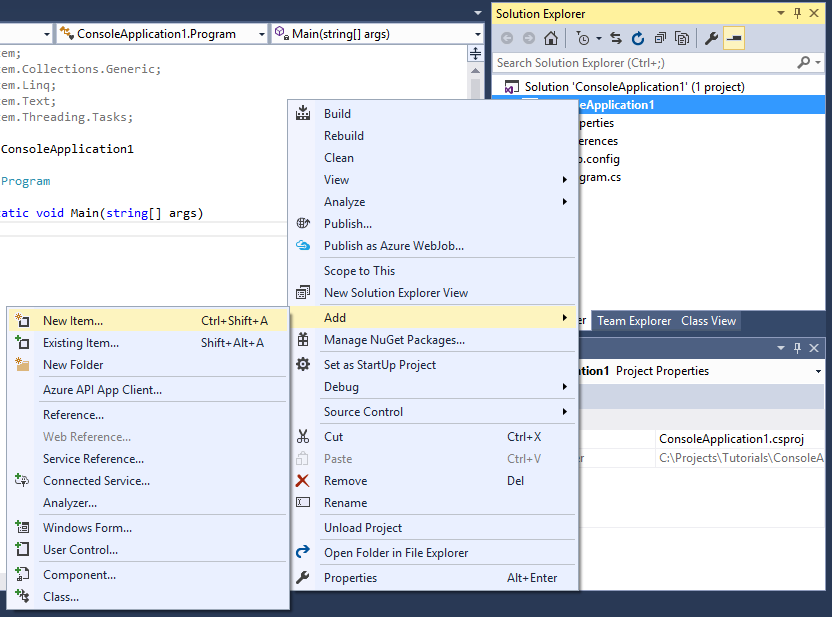
Or you can simply hit Ctrl + Shift + A. Whichever way you choose, a dialog will be presented to you asking you to choose which file you are trying to create.
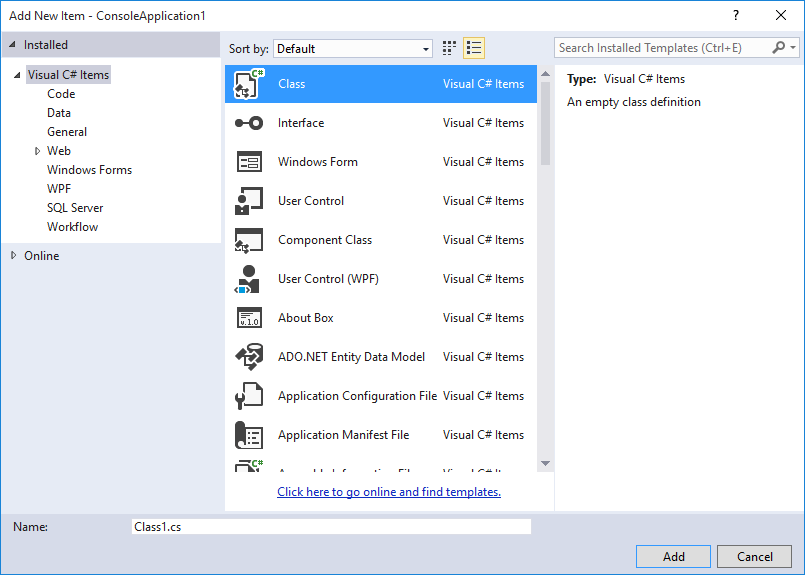
Choose the Class template and name it Sample.cs. C# code files have file extensions of cs. For the purpose of this lesson, delete all the contents that are provided to you after creating the class and write the following code.
namespace MyNamespace
{
    class Sample
    {
        public void ShowMessage()
        {
            System.Console.WriteLine("Hello World!");
        }
    }
}
Here, we defined our namespace and named it MyNamespace. Inside it is our class Sample with one method that shows a message. Take note that we accessed the Console.WriteLine() method by calling the System namespace and by using the dot syntax. You can use the using keyword to allow you to omit the System namespace when calling the Console.WriteLine() method. Now switch to Program.cs which is the default file when you created the project earlier. Delete the contents and write the following code.
using MyNamespace;

class Program
{
    static void Main()
    {
        Sample test = new Sample();

        test.ShowMessage();
    }
}
Hello World!
We use the using keyword to import all the contents of the MyNamespace which is the namespace that we created. If we are to remove that statement, then we should precede the Sample with MyNamespace every time we want to use it.
MyNamespace.Sample test = new MyNamespace.Sample();You can add multiple classes or interface inside a namespace. They will all be contained inside that namespace.
namespace MyNamespace
{
    class Sample1
    {

    }

    class Sample2
    {

    }
}
You are not limited to packaging your class into just one namespace. You can nest your namespace to further categorize your codes.
namespace MyNamespace1
{
    namespace MyNamespace2
    {
        class Sample
        {
            public void ShowMessage()
            {
                System.Console.WriteLine("Hello World!");
            }
        }
    }
}
To access the Sample class, you have to indicate first all the namespaces that wrap it.
MyNamespace1.MyNamespace2.SampleOr you can use again the using statement.
using MyNamespace1.MyNamespace2;The .NET Framework itself consist of deep and nested namespaces. For example, the System.Data.SqlClient are three namespaces nested together. The .NET Framework uses namespaces to categorize each of the technologies it supports.
You can create an alias namespace if you want to make nested namespaces to smaller or easier to type.
using AliasNamespace = MyNamespace1.MyNamespace2;