Designing Windows Forms
When designing a user interface, you must consider the location, size, alignment, and colors. Thankfully, Visual Studio has some tools that will aid you when designing user interfaces.
For the demonstration of these tools, create a new windows forms application. When you are dragging a control to a form, you might notice some lines that appear. The Snap Lines allows you to snap a control to the edges of a form or automatically position your control with respect to the position of other controls.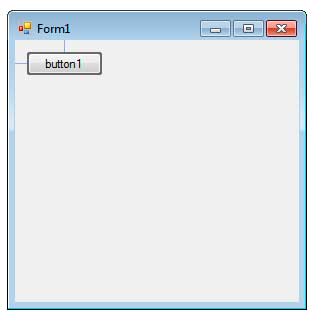
You can snap a control to the different edges of a form. If there are other controls on the form, the control you are dragging can automatically align itself to other controls.
You can align a control to the top, center, bottom, left, or right of a bigger control.
Visual Studio also has commands to automatically align and equalize spacing and sizes of controls. Consider a form with multiple controls:
You can select each control that you want to align by clicking them while holding the Shift key. You can also select controls by dragging your mouse and enclosing all the controls that will be selected in the selection box.
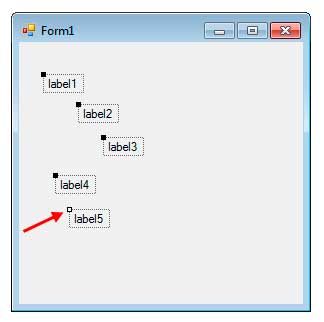
Once controls are selected, the control with a white box in its upper left corner will be the source control that other controls will align to. You can align other controls to the different edges of this control. To align controls, go to Format > Align and then choose which edge to align. For demonstration, choose Left. Other controls will now align to the left edge of the source control.
You can also center a control in a form vertically or horizontally. Just go to Format > Center Form and choose which direction you want your control to be centered.
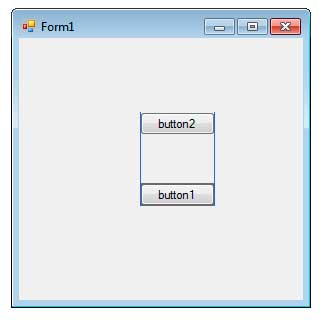
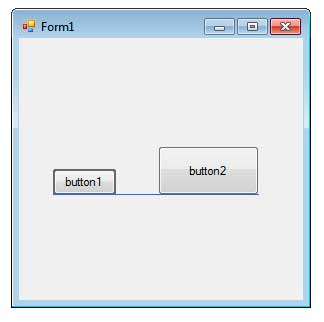
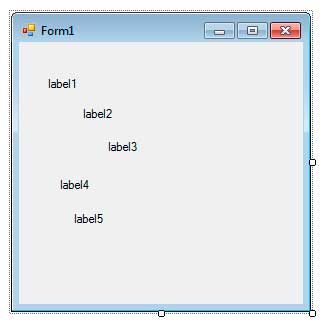
You can also use another command for equalizing the spacing or the distances between controls. Consider this example form:
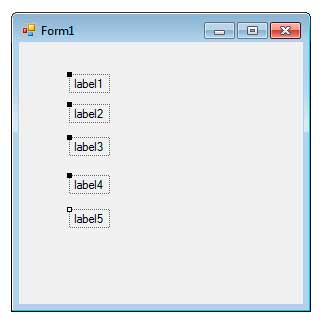
The form above contains controls that have unequal spacing between each other. To equalize their spacing, Select the controls and then go to Format and choose Vertical Spacing for the spacing above or below the control, or Horizontal Spacing for the spacing at the left or the right side of the control. Choose Vertical Spacing and then click Make Equal.
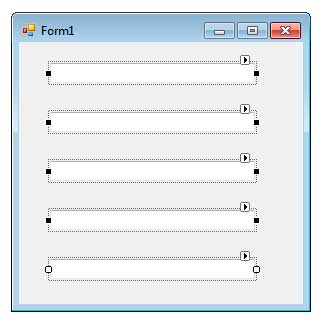
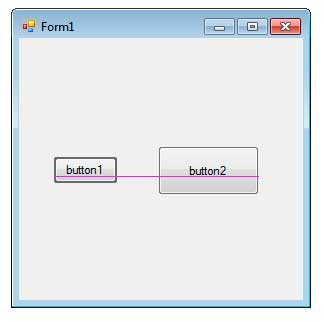
The spacing vertical spacing between the controls is now evenly spaced.
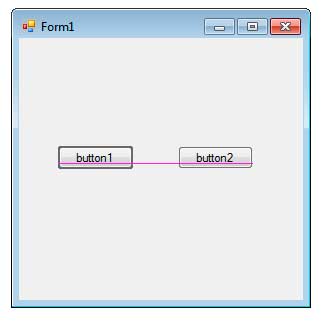
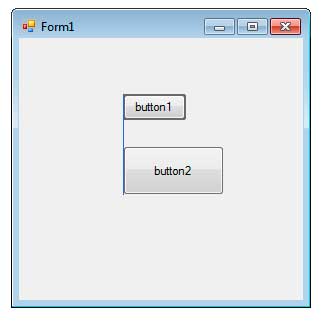
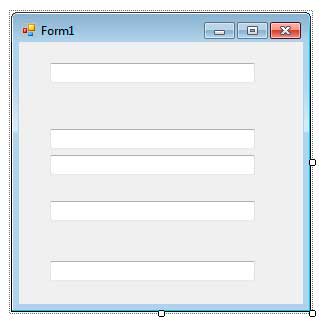
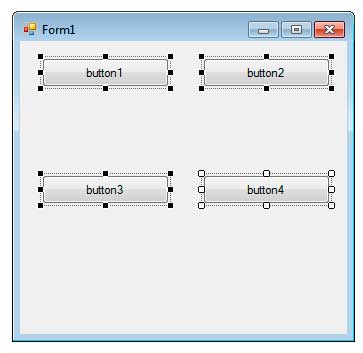
You can also select multiple controls and equalize their sizes. Consider another form below:
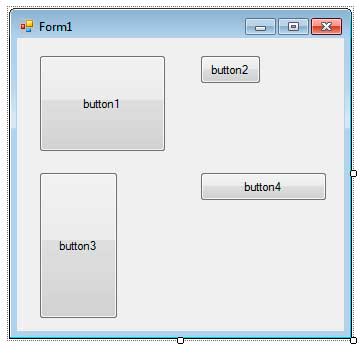
The control with the white resizing handles will the be the reference control. And other controls will be resized according to the size of this control.
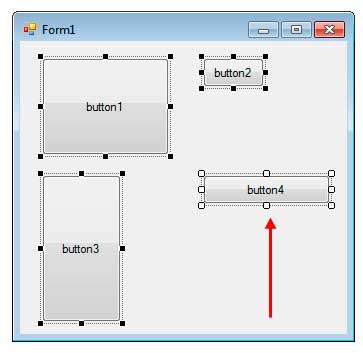
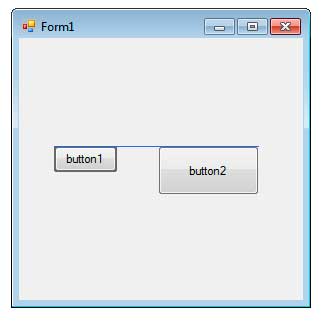
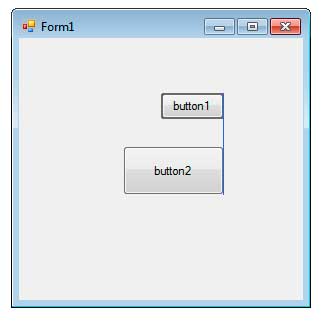
Go to Format > Make Same Size, then you can choose to make all the widths the same, all the height the same, or both. Choose Both all the controls will have the same size as the reference control.
You now know some techniques on making the design of your form neat and uncluttered.