ToolStripContainer Control
The ToolStrip Container control (System.Windows.Forms.ToolStrip Container) serves as a container for toolbars. With this control, you can arrange and change the positions of the toolbars inside this container. The ToolStrip Container is composed of ToolStrip Panels which is the actual area where you place the ToolStrips. By default, there are four panels visible to each side of the ToolStrip Container.
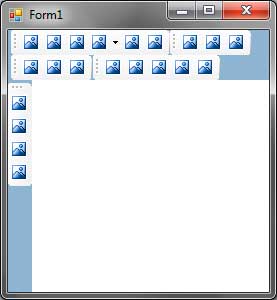
Figure 1
The following are some of the properties of the ToolStrip Container control.
| Property | Description |
|---|---|
| BottomToolStripPanel | Gets the bottom ToolStrip Panel of this control. |
| BottomToolStripPanelVisible | Specifies whether the bottom ToolStrip Panel is visible. |
| ContentPanel | Gets the center panel of this control. |
| LeftToolStripPanel | Gets the left ToolStripPanel of this control. |
| LeftToolStripPanelVisible | Specifies whether the bottom ToolStripPanel is visible. |
| RightToolStripPanel | Gets the right ToolStripPanel of this control. |
| RightToolStripPanelVisible | Specifies whether the right ToolStripPanel is visible. |
| TopToolStripPanel | Gets the top ToolStripPanel of this control. |
| TopToolStripPanelVisible | Specifies whether the top ToolStripPanel is visible. |
Figure 2 – ToolStripContainer Properties
Let’s look at the ToolStrip Container in action. Create a new Windows Forms Application and name it ToolStripContainerDemo. Add a ToolStripContainer from the Menus & Toolbars section of the Toolbox to the form. Change the Dock property of the ToolStripContainer to Fill.
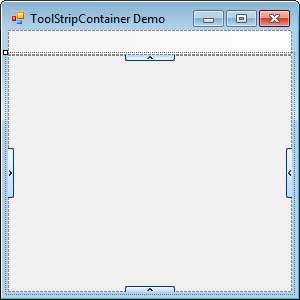
By default, only the top ToolStripPanel is shown. You can now add multiple ToolStrips to this panel by dragging them from the toolbox to this area. The arrows on the sides allow you to create new panels. For example, by clicking the arrow in the left side of the container, a new ToolStripPanel will be created and will be available as a container for ToolStrips.
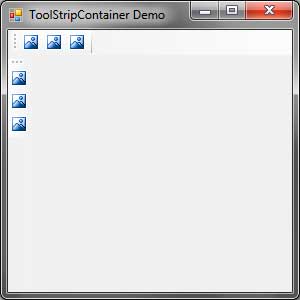
Let’s add two ToolStrips to the top panel. Also add three ToolStripButtons to each of them.
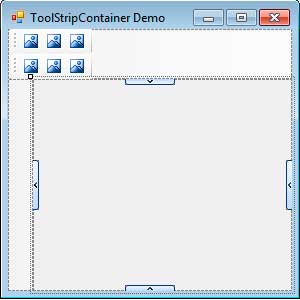
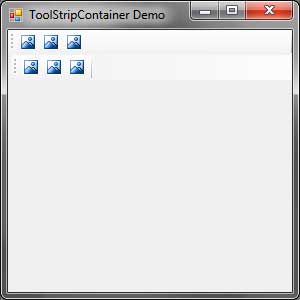
Notice that as you add new ToolStrips, the new one is placed below or next to the previous one. The size of the panel also changes automatically to accommodate the ToolStrips. Run the program to see the toolbars. By clicking and dragging the move handles of each ToolStrip, you can arrange or change their position and orientation. For example, you can drag the second ToolStrip up and place it next to the first one.
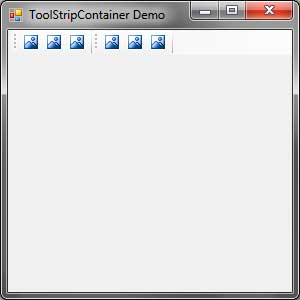
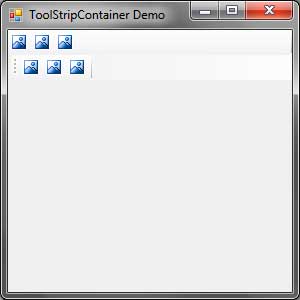
Remember that we added a ToolStripPanel to the left side of the ToolStripContainer. This is invisible at runtime if it is empty. But you can drag a ToolStrip to it as seen below.
Back to the Designer. If you want the ToolStrip to occupy the whole row or column, then you can set its Stretch property to True.
If you don’t want the ToolStrip to be moved, then you can set its GripStyle property to Hidden.
You can also disable the ToolStripPanels if you won’t be needing them. To do this, select the ToolStripContainer. It may be hard to do this manually so you may go to the Properties Window and use the combo box located to the top of it. Find the toolStripContainer1 and select it.
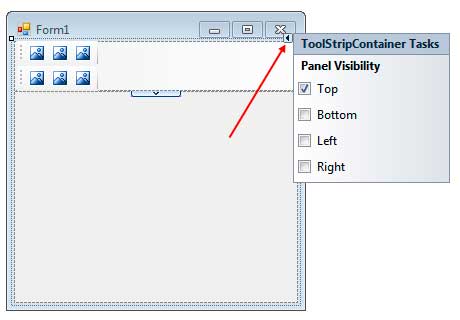
Click the square icon to the upper right side to open up a window. Uncheck the panels that you want to disable.