Downloading and Installing Visual Studio
In this tutorial, I will show you how to download and install Visual Studio Community 2015.
visual studio community download
The Visual Studio Community 2015 is available as a free download.
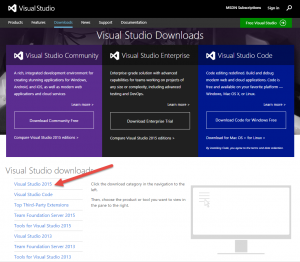
- You can download the installer file in the following link:
https://www.visualstudio.com/en-us/downloads/download-visual-studio-vs.aspx - In this page, scroll down a little and click Visual Studio 2015 from the list of downloads.
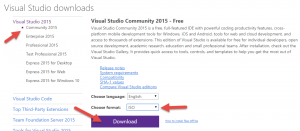
3.Click Community 2015, then choose a language. Also choose ISO as the format. I prefer downloading the ISO instead of the web installer so that we can reinstall Visual Studio on other machines or later without redownloading the files. Prepare at least 5GB of disk space and a good internet connection before downloading. You can still choose web as the format so that you will only download a small-size installer, but it will still download the files once you start the installation.
4.Once you click the Download button, it will start download Visual Studio Community edition.
Installing Visual Studio Community
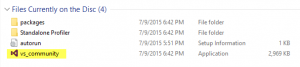
1.If you downloaded the ISO file, you should be able to open it if you are using Windows 8 or above. If not, then the easier way is to download the web installer instead. Open the iso file and click the vs_community.exe installer.
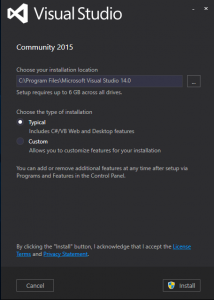
2.Just choose “Typical” as the type of installation and click the Install button to begin the installation.
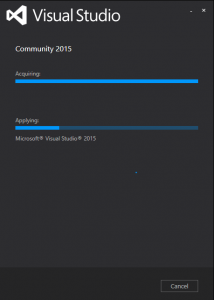
3.Wait for the installation to finish.
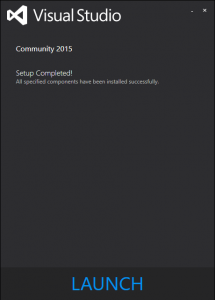
 4.Once the installation completes, you will see the following screen. You can click the Launch button to start Visual Studio Community.
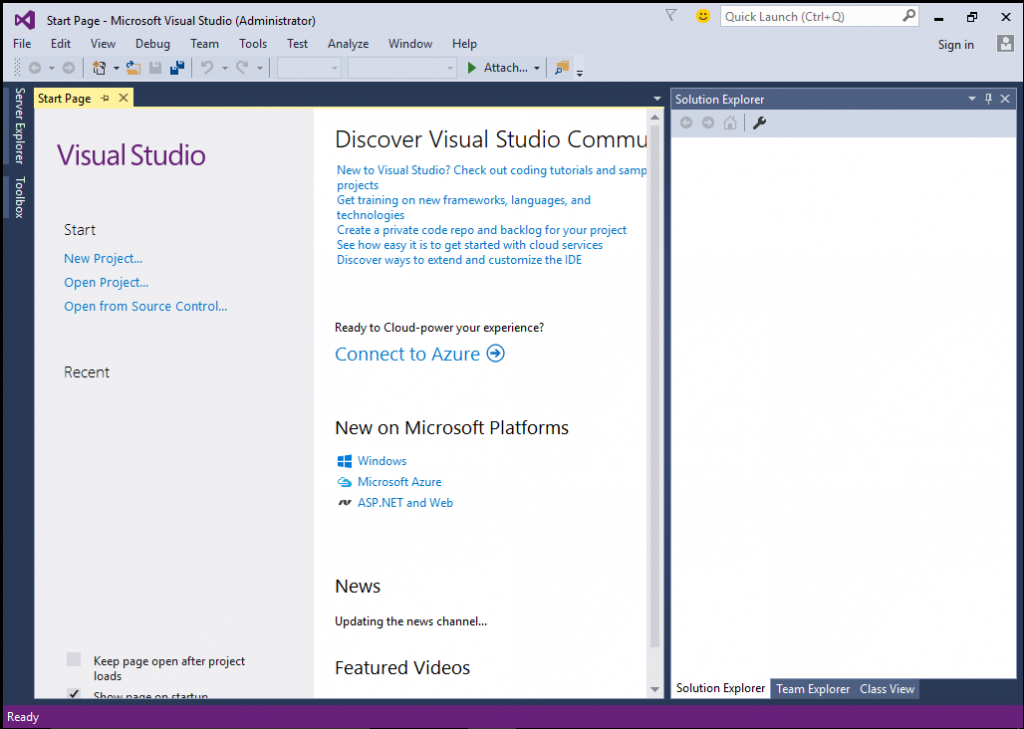
Starting Up Visual Studio Community
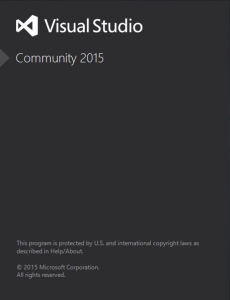
1.Start Visual Studio and wait for the startup screen to finish loading.
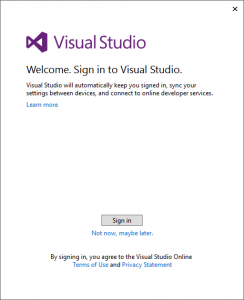
2.If you have a Microsoft account, then feel free to sign it in. This will allow you to save your Visual Studio settings in the cloud and if you happen to have another installation of Visual Studio in a separate machine, then you can sign in there as well and it will automatically sync the saved settings to that machine’s Visual Studio installation. For this step, I just skipped it and clicked “Not now, maybe later”.
3.You can choose between 3 predefined themes in Visual Studio. I just picked the default Blue theme and that will be the theme applied on the screenshots of the tutorials in this site. You are free to choose any theme that you like.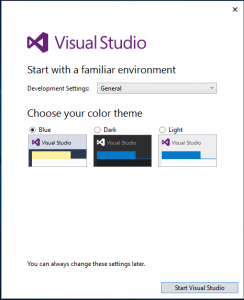
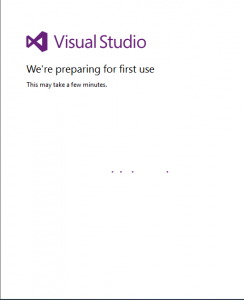
4.After that, just wait for Visual Studio to finish its initial preparations.
5.he Visual Studio Community should now fully load up and you will be initially welcomed by its Start Page. Congratulations, you have now successfully installed Visual Studio Community. We’ll now start our long but happy journey of learning C#!