Install Python
Getting Started
Installing Python
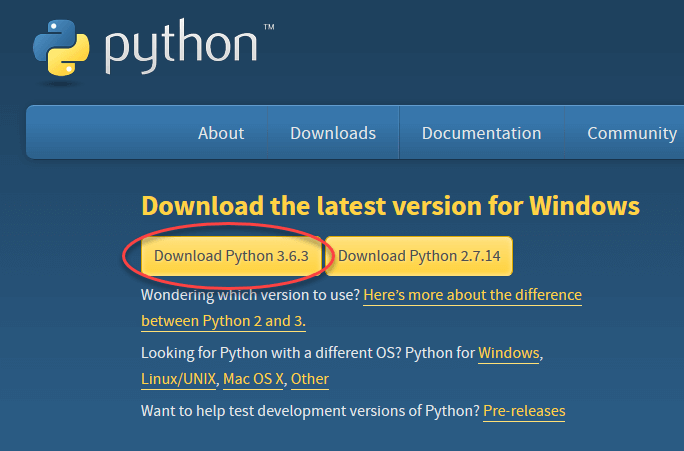
Step 1) Visit the official website of Python http:/www.python.org/downloads/ to download and update Python and choose your copy. We picked edition 3.6.3 of Python
Step 2) Run the exe to install Python once the download is complete. Click now to install it.

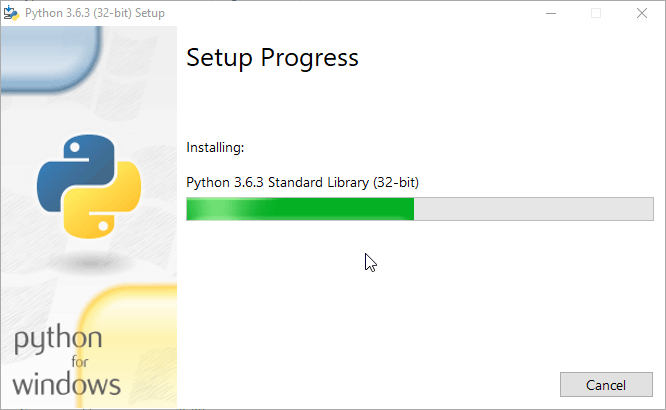
Step 3) At this stage you can see the installation of Python.
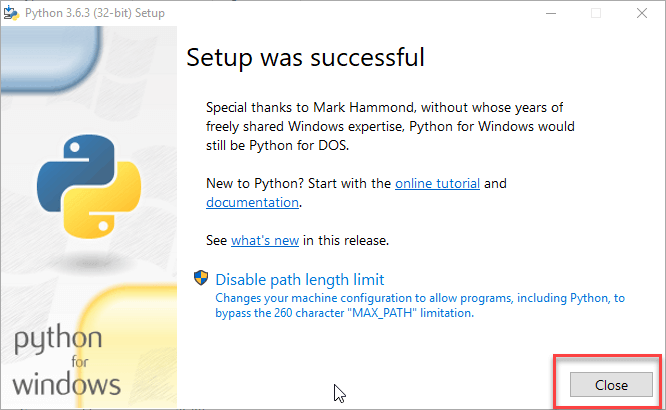
Step 4) You can see a monitor when it is done that means the installation has been effective. Now press the Close button.
Installing Pycharm
Step 1) Visit the https:/www.jetbrains.com/pycharm/download/ website to download PyCharm and press the “DOWNLOAD” button in the Community section.
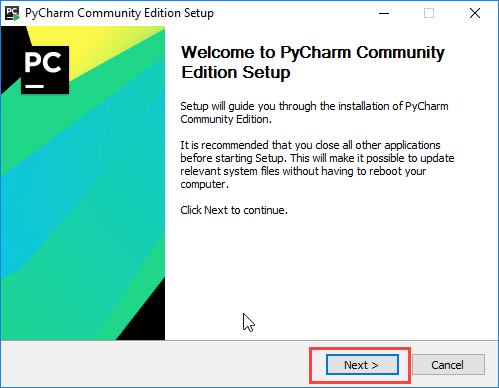
Step 2) Execute the exe to install PyCharm once the download has been completed. It was supposed to start the setup wizard. Click the ‘ Next ‘ button.
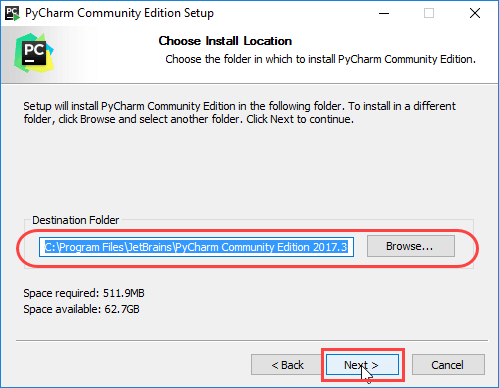
Step 3) Change the path of installation if necessary on the next screen. Click “Next.”
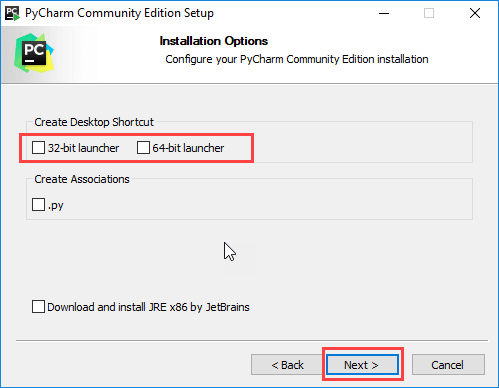
Step 4) If you want, you can create a shortcut on the next screen and click on “Next.”
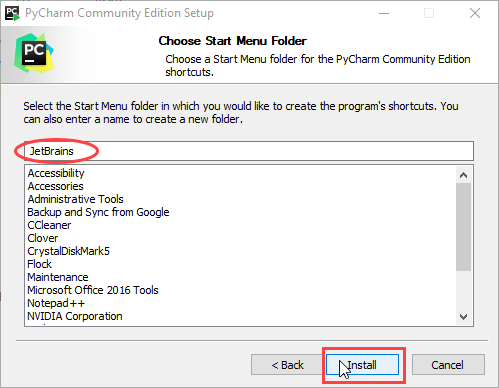
Step 5) Choose the folder of the start menu. Keep the JetBrains selected and click “Install.”
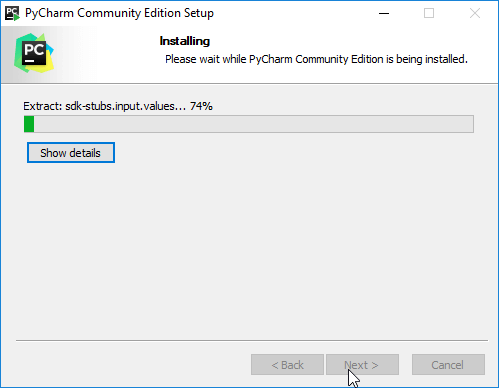
Step 6) Wait to finish the setup.
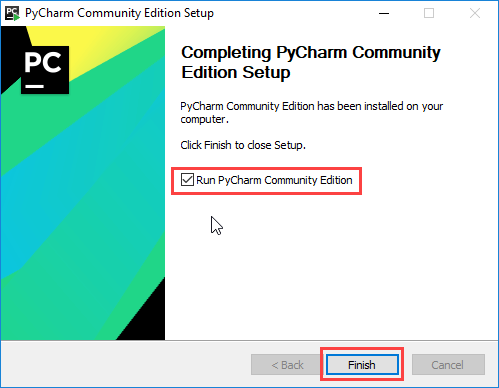
Step 7) When the deployment is complete, you will get a notification display that PyCharm is mounted. Select the “Run PyCharm Community Version” box first to go ahead and run it, then click the Finish button
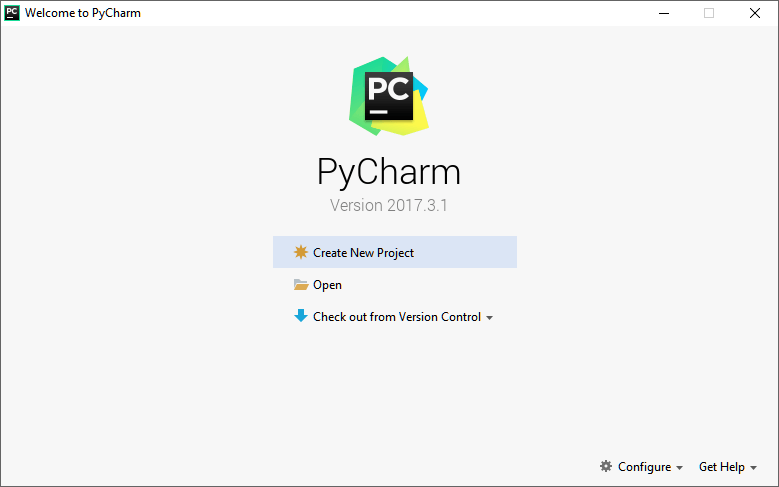
Step 8) The next window will appear after you click on “Start.”