TrackBar Control
The TrackBar control (System.Windows.Forms.TrackBar) looks like a slider with a thumb that you can move to adjust its value. The part where the thumb points represent the current value. The following shows you how a track bar looks like.
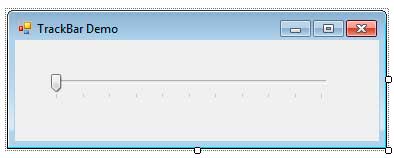
Figure 1
The user can slide the thumb to the left or to the right or you can change the orientation to vertical so you can slide the thumb up or down. Each tick marks below represents a value, with the lowest being in the left or bottom, and the highest in the right or top. Let’s take a look at some properties of the TrackBar control.
| Property | Description |
|---|---|
| LargeChange | The value to add or subtract when the user presses the Page Up or Page Down key or when he/she clicks either side of the TrackBar. |
| Maximum | Specifies the maximum value that the TrackBar can handle. It is also the value of the rightmost or topmost tick. |
| Minimum | Specifies the minimum value that the TrackBar can handle. It is also the value of the leftmost or bottommost tick. |
| Orientation | Determines whether the introduction of the TrackBar is Horizontal or Vertical. |
| SmallChange | Specifies the value added or subtracted when the user presses the arrow keys to move the thumb of the TrackBar. |
| TickFrequency | Specifies how frequent the ticks will show depending on the range of value. |
| TickStyle | Specifies the position where the ticks will show. Possible values are: None: Don’t show the ticks. Bottom: Show the ticks at the bottom. Top: Show the ticks at the top. Both: Show the ticks at both top and bottom. |
| Value | Contains the current value specified by the TrackBar. |
Figure 2 – TrackBar Properties
The TrackBar control uses the Scroll event to react to the scrolling of the thumb of the TrackBar.
Let’s look at an example program that shows you how to use the TrackBar control. Create a new Windows Forms Application and add three track bars and labels. The TrackBar can be found in the All Windows Forms section of the Toolbar. Also add a panel control and set it’s BackColor property to Black.
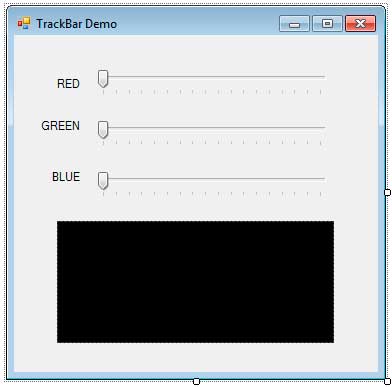
Name the three track bars as trackBarRed, trackBarGreen, and trackBarBlue. Set their Maximum property to 255 and TickFrequency to 15. Switch to Code View and type the following event handler that will be used by the three track bars.
private void trackBar_Scroll(object source, EventArgs e)
{
    int red = trackBarRed.Value;
    int green = trackBarGreen.Value;
    int blue = trackBarBlue.Value;

    Color color = Color.FromArgb(red, green, blue);

    panelColor.BackColor = color;
}
Example 1
Go back to the Designer and select each track bar. Go to the Events section of the Properties Window and find the Scroll event then choose the trackBar_Scroll which is the event handler we created.
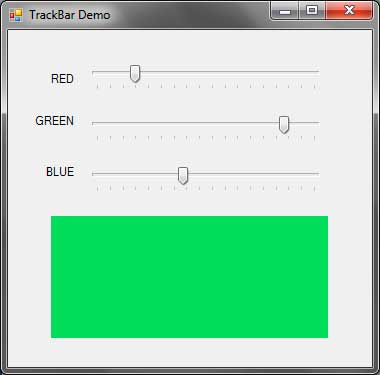
Inside the event handler, we used the Value property of each track bar and stored it to three variables. These three values represent the RGB values of a color. We created a System.Drawing.Color object and used the FromArgb() method with the values of the track bars. We then changed the BackColor of the panel with the new color constructed based on the values of the track bars.
Run the program and slide the different track bars and notice how the color of the panel changes.