Changing the Layout of Visual Studio
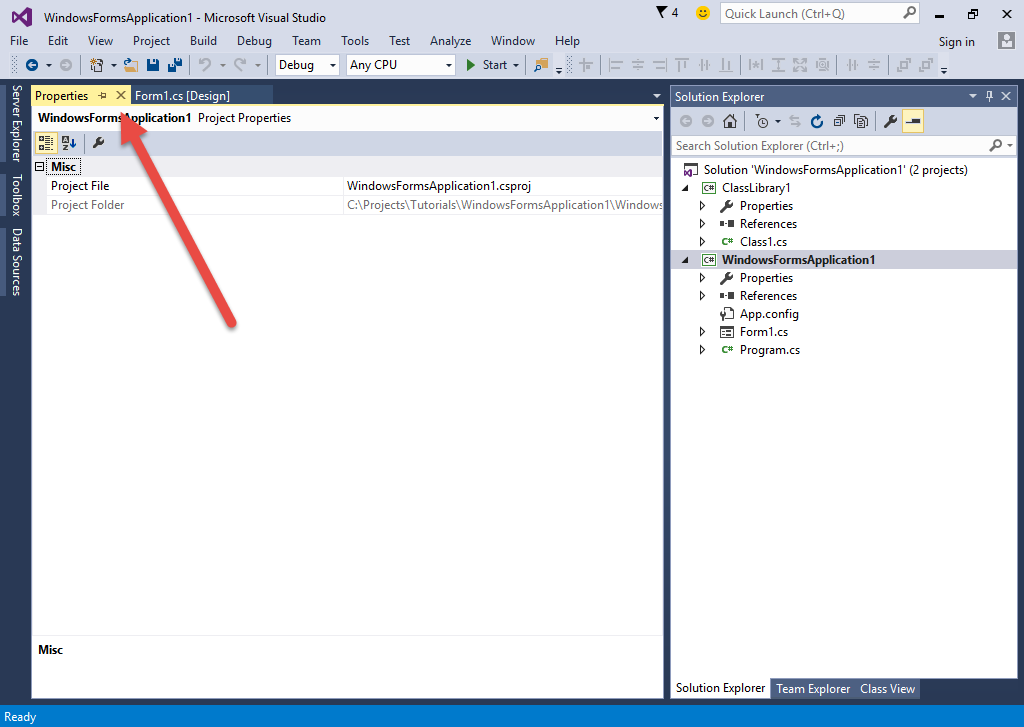
Visual Studio layout If you don’t like the position of the windows or the layout of the IDE, you have the ability to arrange them. By clicking and dragging the title bar of each window, you can make them float as shown below.
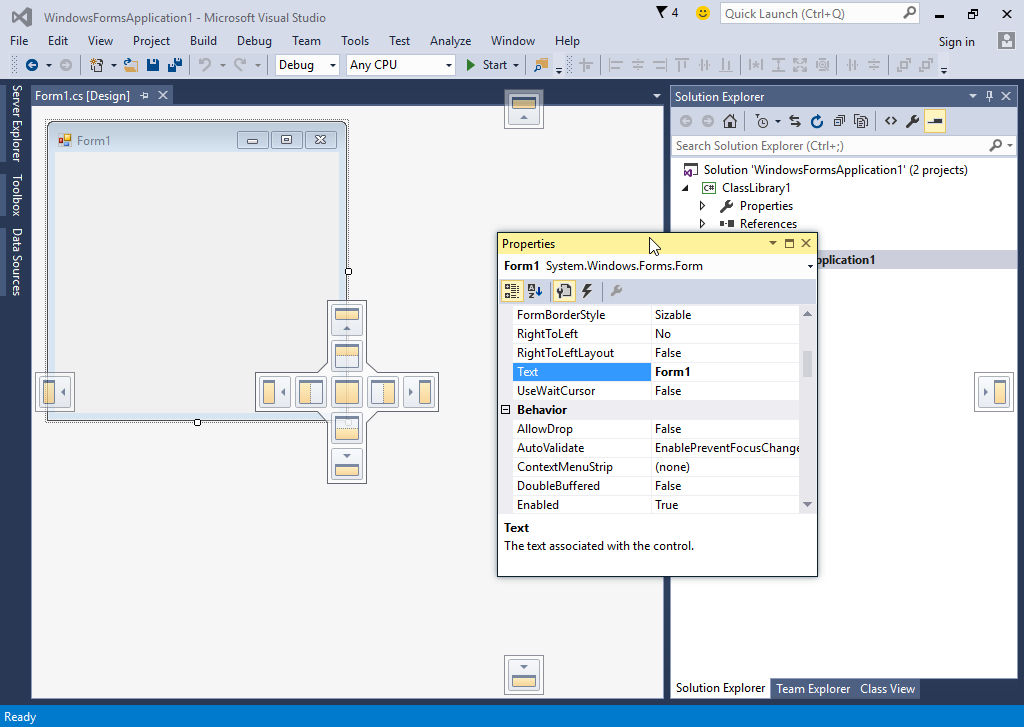
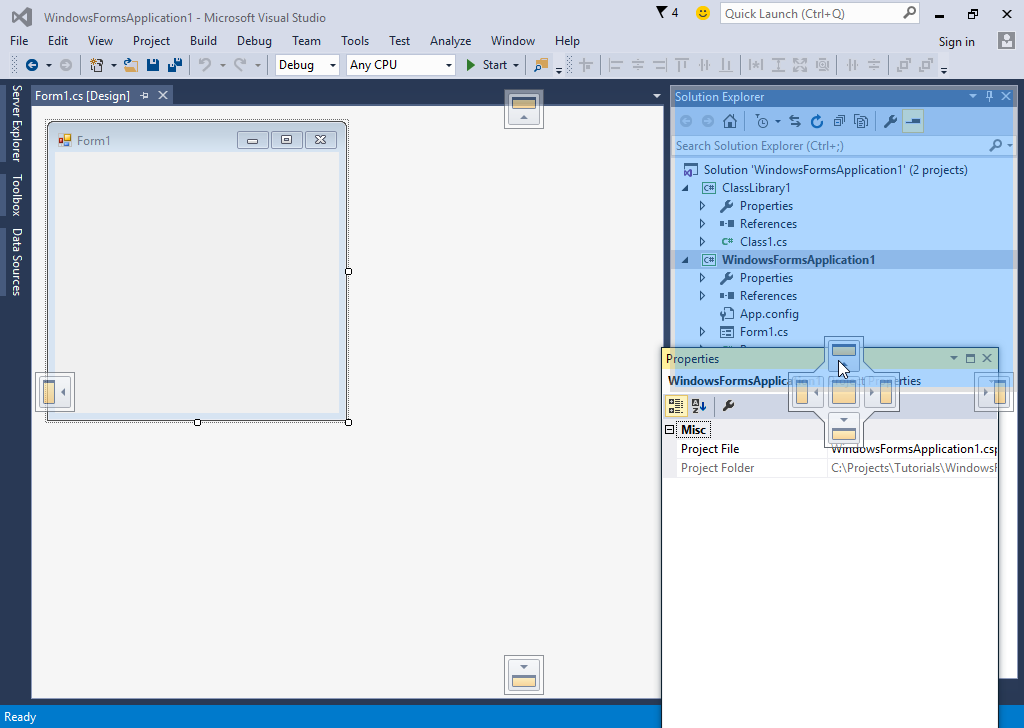
While still dragging the window, a visual guide used for docking will show up. This allows you to dock the window on certain locations of the IDE. For example, you can drag the window to the topmost box to dock it to the top. The area where the item being dragged will be docked will turn blue.
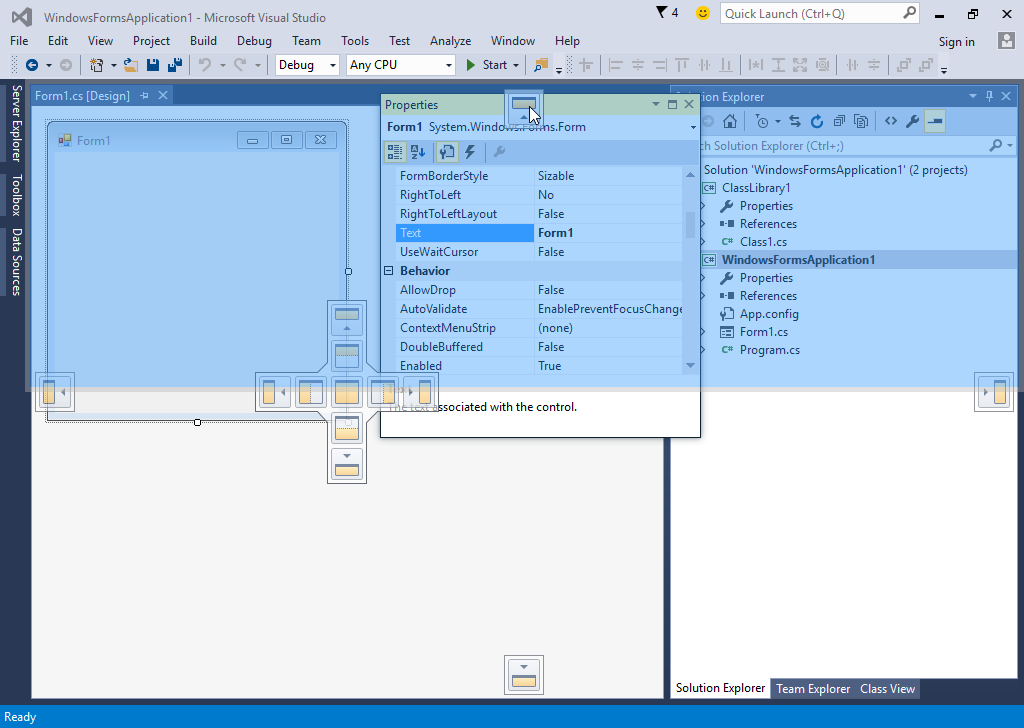
The central cross guide containing different boxes allows you to dock the window to certain parts of another window. For example, dragging the window to the left-most part of the cross while in the design view will dock the control to the left side of the Design View.
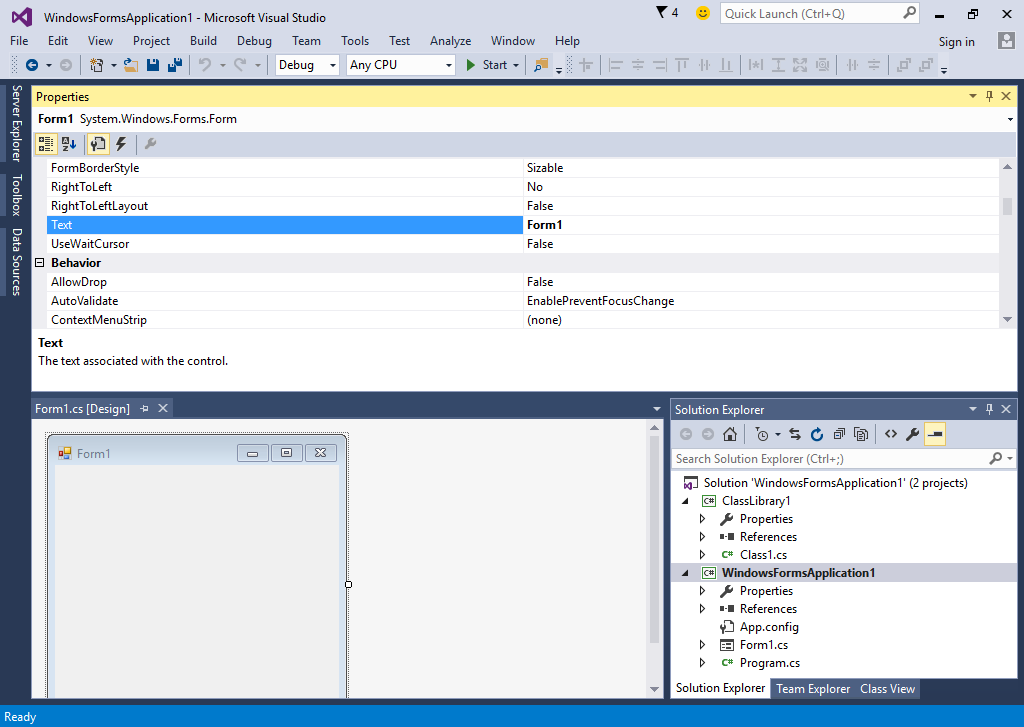
Dragging the window to the center of the cross will combine the window being dragged to the destination Window, in the case above, the Design Window, and you can access the Properties Window via a tab.
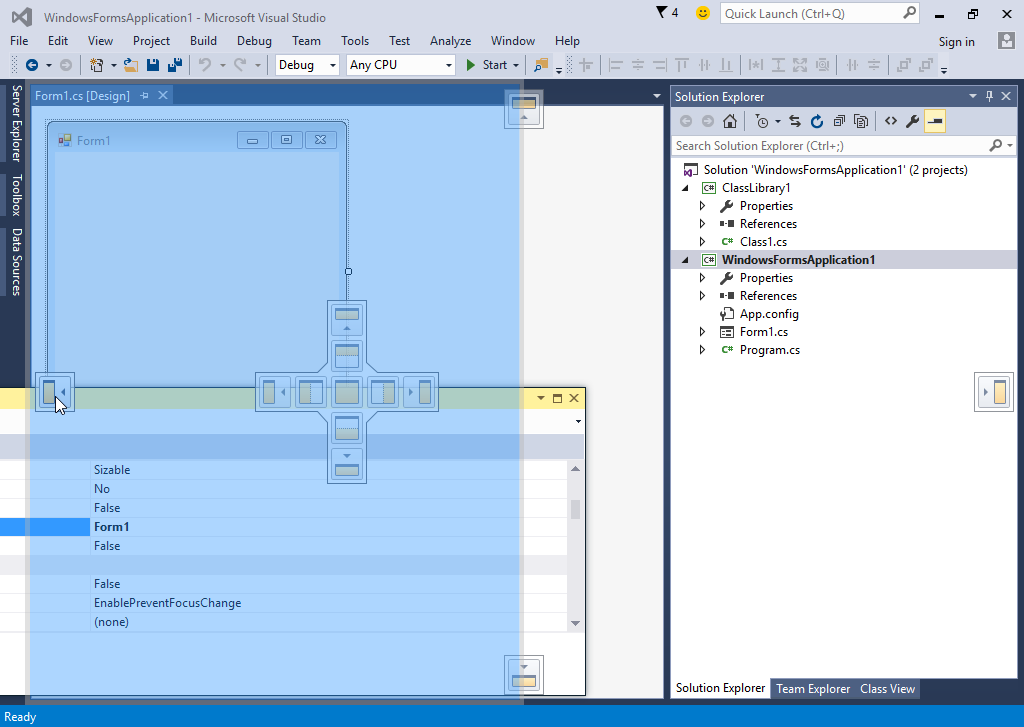
If you drag the Properties Window over the Solution Explorer, for instance, another cross guide will show up. Dragging the window to the top of the guide will dock the Properties Window to the top of the Solution Explorer.
The destination where your window will be docked will be partially filled with a blue color to notify you how it will be docked.
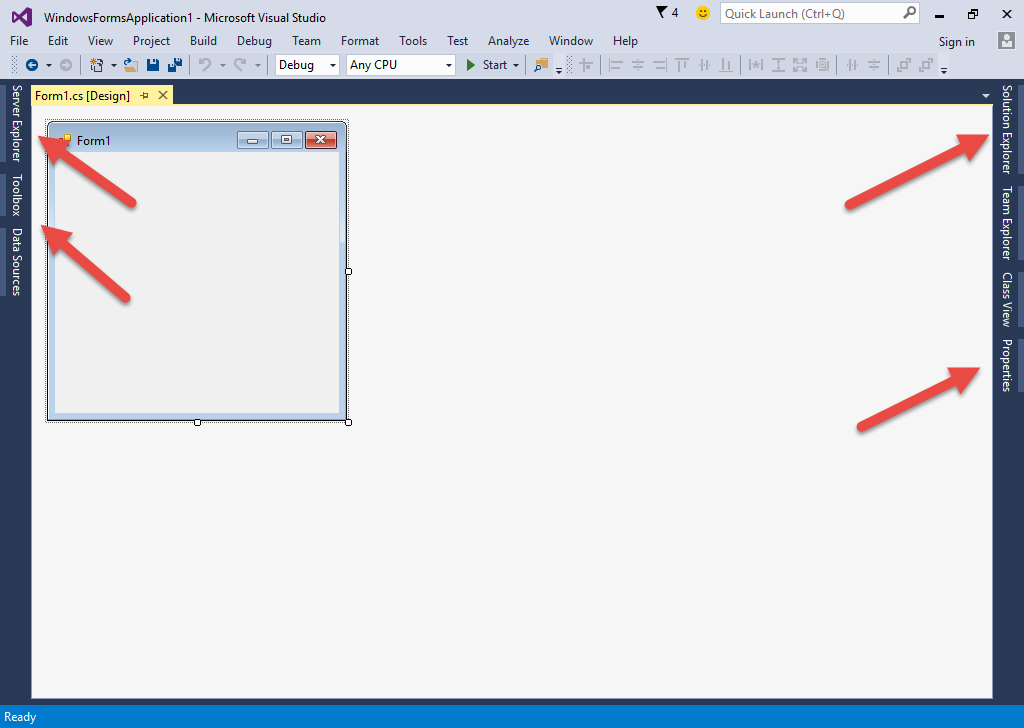
Visual Studio also offers a space saving feature called autohide which automatically hides the window. Each window has a pin icon next to the close button.

Clicking this icon will “unpin” the window and activate the auto-hide feature. You can now access the windows by hovering your mouse or clicking the tabs at the side of the IDE. Notice the large space saved by using the autohide feature.
To “pin” or disable the autohide feature of a window, simply access the window and clicked the pin icon again.
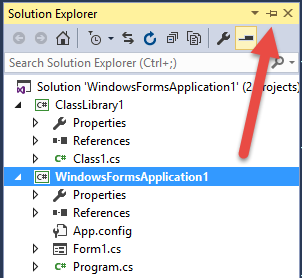
Notice that the pin is now horizontal. A vertical pin indicates that the window is pinned while a horizontal pin indicates that the window is unpinned and will auto-hide.